Flax Kete Weaving Notes
Start by preparing 2 even numbered lots of flax strips 20 - 40mm wide for each side of the bag. Minimum number would be about 20 per side.
Strips can be 'torn' off the flax leaf and should have a fibrous end with the green leaf materiel scraped away.
The strips are then softened (hapene process) by dragging the dull side of the flax strip across the back edge of a knife, as you would to curl ribbon. For the traditional method use a sharpened stone.
Use a new strip of flax knotted and split into three to start a plat that will be the backbone of the basket. Introduce the prepared flax strips by adding into the plat starting on the right and then the left, right etc. Each new strip partly overlapping the one above.
Make sure there are the same, even number on each side of the backbone. and finish plating out the backbone and tie it off.
With the main backbone plat on the underside weave the strips of one side together working from left to right. Odd angled to the left, even to the right.
Fold back the strips the will be above / over and lay down the strip that is being woven then lay back down the folder ones. Keep plating, working up the rows until one side is a complete triangle
Rotate 180 degrees and do the same on the other side. Now there will be two triangles with the main backbone down the center.
Flip over so the main plat is upper side and start to weave the corner by merging the two triangles at one end of the main plat. After joining the corners somewhat, press the bag flat to help define the shape and stop things coming apart so easy.
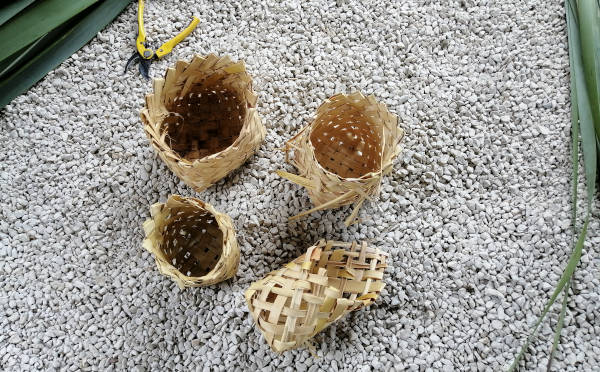
Continue to weave around row by row building up the sides.
After it is desired height and there is a tail of at least 100mm remaining on the strips then lock off the side weave. This is done by folding down every other strip behind the subsequent one to sort of lock it in place and optionally back weaving.
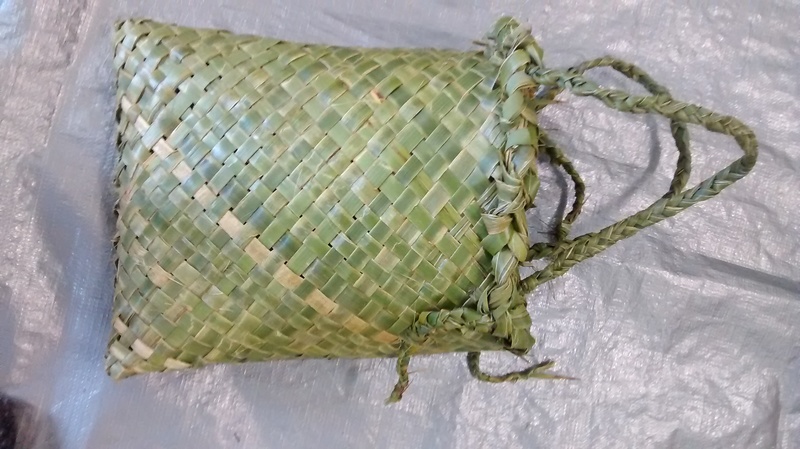
Prepare handles if desired by making fat plated 'rope' with tassels at each end so they can be incorporated into the top rim.
Plat the remaining ends / tails together working around the rim of the bag, introducing new strands from both left and right and discarding from the right (underside). These can be trimmed off. Work around the entire rim incorporating the handles at the appropriate locations and then continue the plat to use up the remaining ends and tie off.


